Plain Text Documents
One of the main characteristics of plain text is that it does not support any kind of formatting, embedded images or other attachments, and applies a single font, font size and color. What may sound limiting has its clear advantages: plain text is the most universal format that can be read and edited on almost any device, and it is a format that will still be around in decades. Moreover, creating a document in plain text is distraction free, as there is no need to care about format and style; it is just about writing.
In Notebooks, you can convert plain text documents to other formats anytime, so you may start writing plain text and turn it into a formatted document later. Or if you want to give your plain text some style, use Markdown, a simple set of formatting rules which we devote a separate section to.
Basics
- To activate the keyboard and start writing, tap or click the text.
- On your iPhone or iPad use pinch and zoom gestures to change a document’s font size. You can disable this gesture in Notebooks‘ settings. On your Mac, you can use the keyboard shortcuts
⌘+/-. - To end editing a plain text document on your iPhone or iPad
- tap the Done button in the top right corner,
- swipe left or right across the text,
- use the dedicated dismiss keyboard button on an iPad,
- use Notebooks‘ dismiss keyboard button on the row of extra keyboard keys,
- with an external keyboard connected, type command-return.
- On a Mac, there is no need to explicitly end editing or dismissing the keyboard.
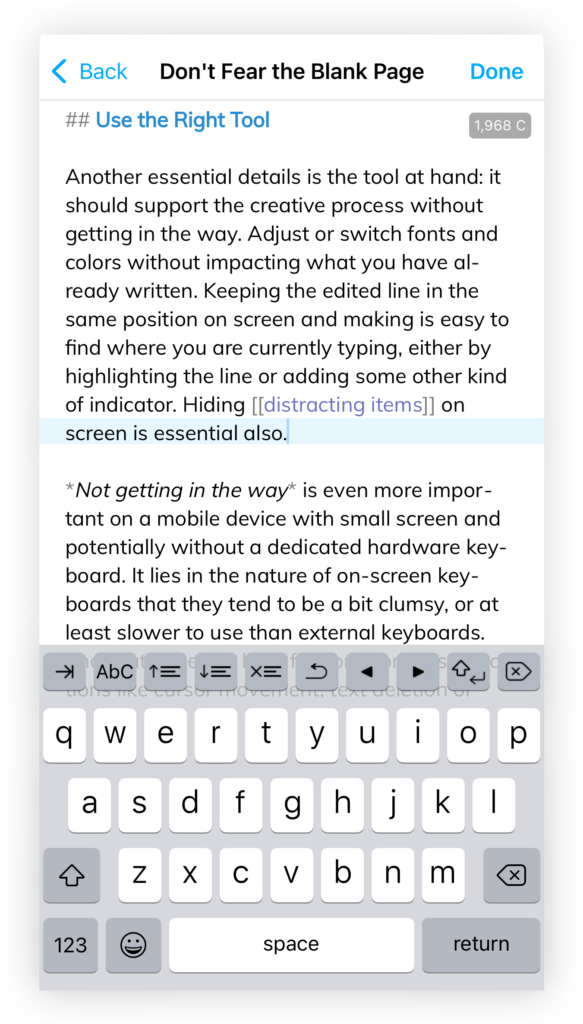
Extra Keyboard Keys on iPhone and iPad
To support editing when using the on screen keyboard, Notebooks features a row of customizable extra keys. It appears above the keyboard and is swipeable, so you can have an unlimited number or extra keys. You can learn more about extra keys in a separate section.
Keyboard Shortcuts
On a Mac and on an iPhone or iPad with an external keyboard connected, Notebooks supports convenient keyboard shortcuts. You find more details in an extra section; on an iPhone or iPad, you can hold down the cmd key for a full list of shortcuts.
Advanced Editing Options
Create and Manage Lists
When you start a line with a specific character combination, Notebooks assumes that you create a list of items, so it automatically places the same character combination at the beginning of the next line when you type return. This way, creating lists becomes quick and easy. A few tips:
- The characters Notebooks is watching for are
- + * • > : —, followed by spaces or tabs. - To create numbered lists, start a line with a number, followed by
.or), followed by spaces or tabs, like1.or1). When you later insert, remove or move lines from the list, Notebooks updates the numbers on the fly, but there is also a dedicated action to update numbers. - To indent the current line one level, tap the
tabkey anywhere on the line. - To outdent the line one level, tap and hold the tab key (iPhone or iPad) use
shift-tabon an external keyboard, or typereturnon an empty line. - To indent or outdent multiple lines at once, select the lines and tap (or tap and hold) the tab button.
- To add a line break without adding a new bullet, use
shift-returnon a Mac, or use the dedicated Soft Return extra key.
These types of lists are not only convenient for plain text, but also for Markdown documents. When converted to HTML, the lists are converted to numbered or bulleted lists.
In case you do not want Notebooks to detect lists automatically, you can turn off this behavior in settings.
Move Lines and Paragraphs Up and Down
While creating a list as described in the previous section you may want to reorder the list. Rather than using copy/paste, you can use Notebooks‘ keyboard shortcuts ⌃⌥↑ and ⌃⌥↓ or the corresponding extra keyboard keys (iPhone and iPad) to move the current line up or down. If you select multiple lines or paragraphs, the shortcuts move all selected paragraphs.
Cut Lines and Paragraphs
Another convenient shortcut allows you to cut the the whole current line or paragraph without having to select it first. Just use Notebooks keyboard shortcut ⌥⌘X or the corresponding extra keyboard key (iPhone and iPad) to cut the paragraph, so it is ready to be pasted elsewhere.
Advanced Forward Delete (iPhone and iPad)
If you regularly type text on an iPhone or iPad, you have probably been asking yourself why the on screen keyboard does not provide a forward delete button, a way to delete characters after the cursor (in contrast to backspace, which deletes the character before the cursor). Notebooks not only offers a forward delete button as extra keyboard key, it even provides an advanced forward delete button:
- Tap the forward delete button to delete the character after the cursor.
- Tap and hold the button for a menu with options:
- Delete to end of word.
- Delete to end of sentence.
- Delete to end of line.
- Delete whitespace (in case the cursor is followed by more than a single space or newline).
- Delete up to and including the same character that precedes the cursor.
- Delete up to and including the same two characters that precede the cursor.
The last two options allow you to delete an arbitrary amount of text, which is very convenient when editing existing text. If the two characters that precede the cursor are “! “, for example, you can delete up to the next occurrence of “! ” in one swoop, and Notebooks places the cursor right after these two characters.
Right-To-Left Text (RTL)
Notebooks is capable of displaying RTL texts and handles documents with mixed left-to-right and right-to-left text correctly as well. However, detecting mixed text in long documents may take a moment, which is why Notebooks by default applies a uniform text alignment, based on the first few paragraphs. In Settings > Write & Edit > Plain Text you specify that Notebooks should respect mixed text directions and correctly align each paragraph.